Plausible Lab: Part #2 – Shelving
In my previous post, I described the work benches I built for our new electronics lab at Plausible Labs. With the benches in place, the final missing piece was shelving, and after I spent a long weekend and a few weeknights hanging the shelving, I’m pretty happy with the result:
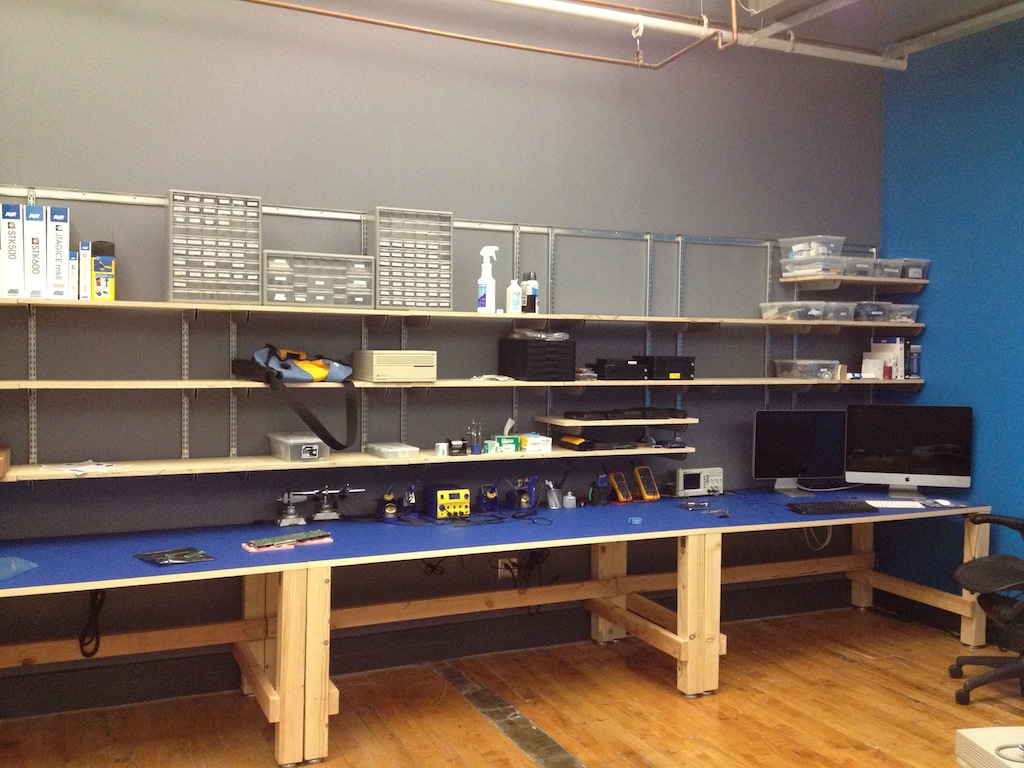
It’s surprisingly easy to fill a set of shelves, so I wanted to make sure we had a ton of capacity, and that we could easily adjust the shelving positions to fit our needs. I decided to use standard “double slot” shelving tracks, with 31″ x 14″ individual shelves, spanning the full 18′ of the desk surface area.
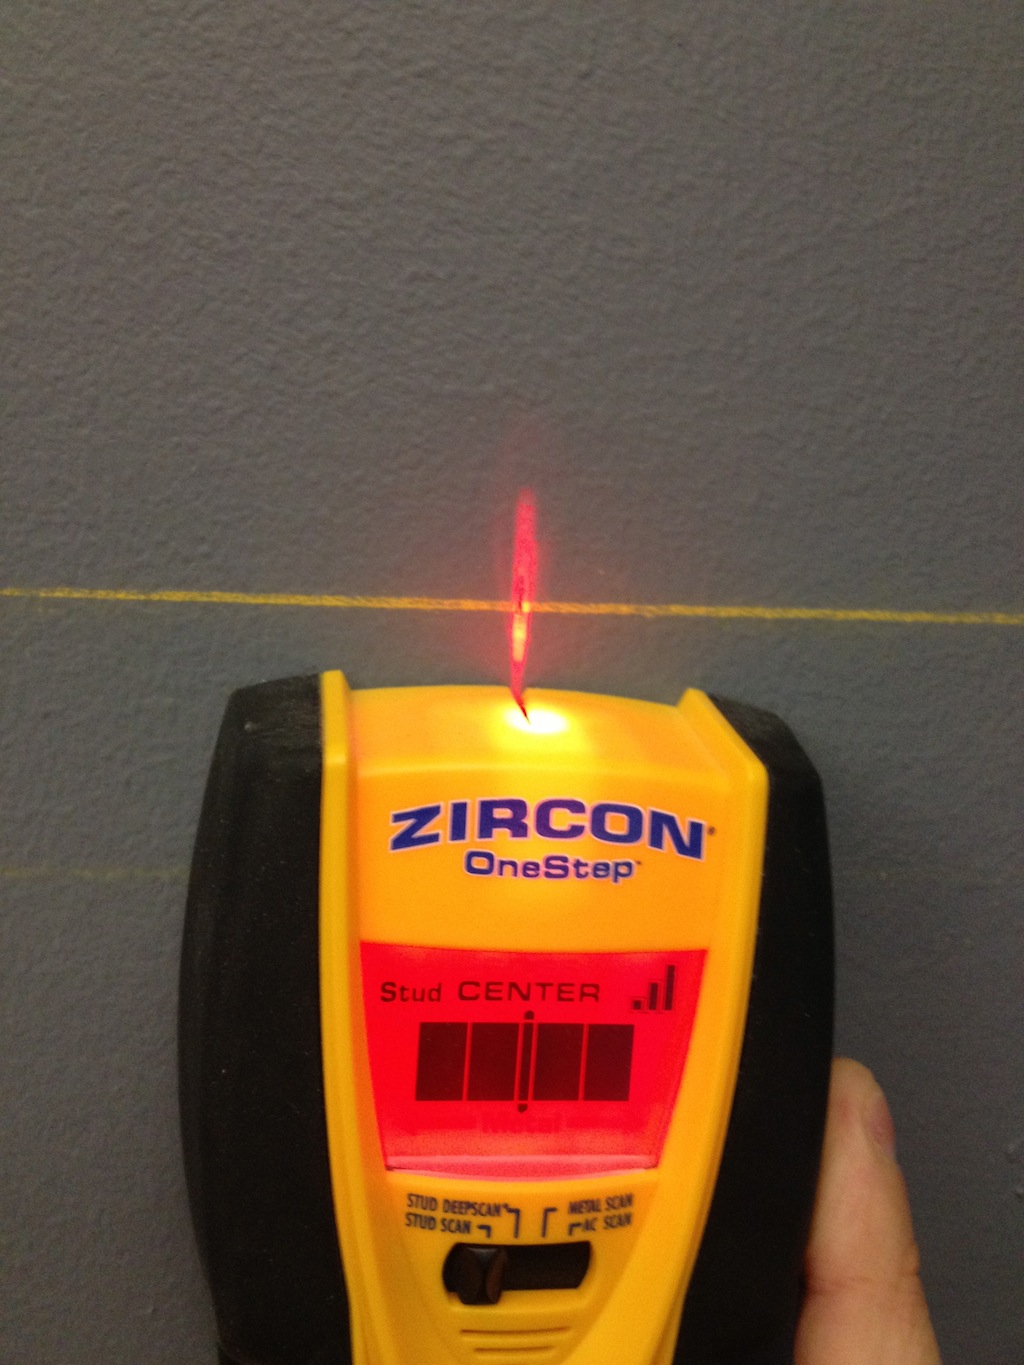
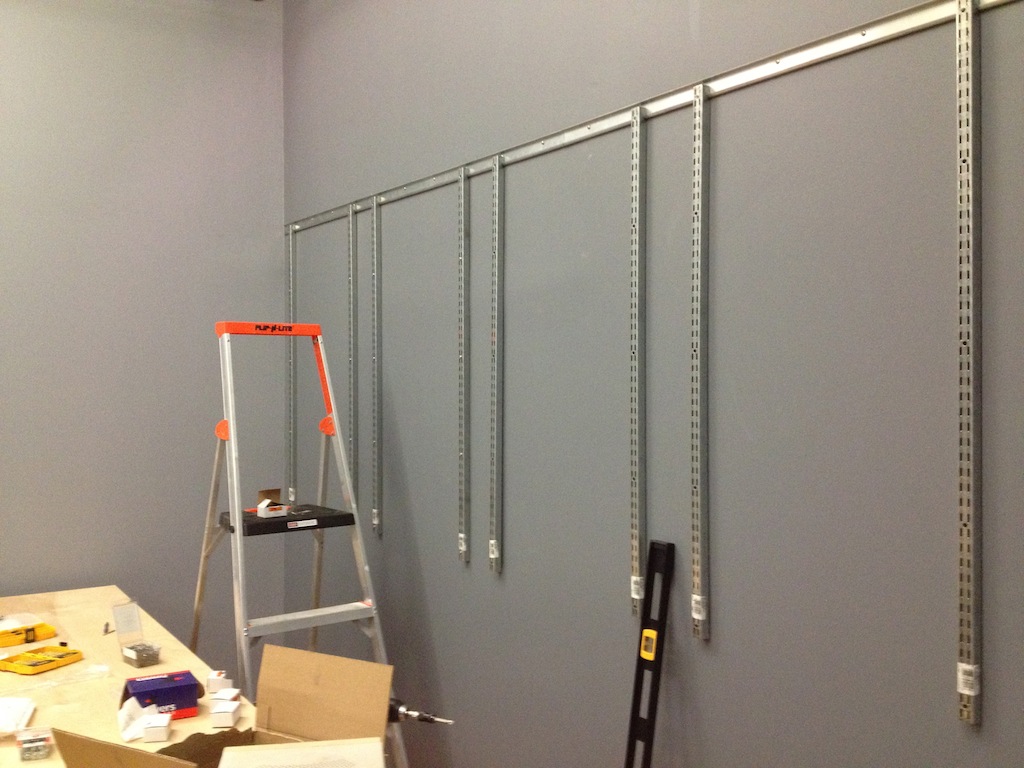
To ensure sturdy mounting — and simplify leveling of the shelves — I decided to mount a single hanging track from which the shelving standards are hung. To level the track I used a combination of a 4′ level and a standard chalk line reel. There are fancier laser levels available, but I was pretty happy with the results with a simple chalk line. Once the line was in place and level, I marked out the studs using a standard stud finder, to be used when lining up the track for mounting.
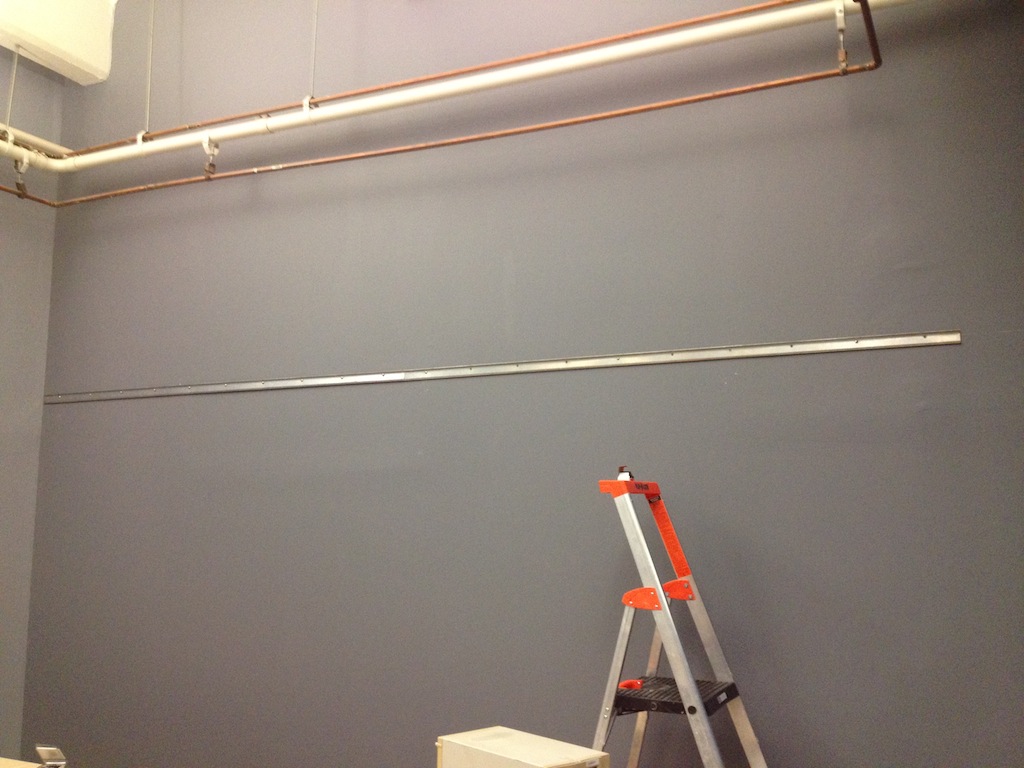
The walls were built with metal studs positioned at standard 16″ intervals, so I used sheet metal screws to actually mount the hanging track to the wall studs. This required drilling pilot holes in the studs, but was far less damaging to the drywall than using toggle bolts or similar. The track itself did not perfectly fit the required 18′ of space and needed to be shortened; a standard hacksaw made quick work of it.
Once the track was mounted, I was able to mount the actual shelving standards. I decided to space them out such that every other track is mounted directly into a wall stud, hopefully providing additional support than just the hanging track alone.
Parts List
Plywood & Hardwood
The shelves themselves are simple plywood. For increased strength (and improved aesthetics), you can glue or nail a hardwood strip to the front of the shelves — I haven’t done this yet, but it’s on my TODO list. Really.
I once again hit up our local Lumber City & Building Supply, based in my neighborhood in Williamsburg. These guys are fantastic.
Plywood is generally available in 8′ x 4′ sheets, and with my 31″ x 14″ shelving, I was able to get 9 shelves per sheet. With 18′ to span and 3 levels of shelving, this came to a total of 21 shelves.
Hardware
I purchased all my hardware from McMaster-Carr, including the shelving hardware itself. Although they don’t list a manufacturer in the McMaster-Carr catalog, the shelving hardware I purchased was manufactured by the John Sterling Corporation.
The full parts list follows, with links to McMaster-Carr. The parts list is for a full 18′ x 4′ of shelving, so you’ll need to adapt it for your own needs.
- 80″ hanging track – 3 total
- Shelving Standards, 48″ long – 15 total
- Shelf Brackets, 13 7/8″ Depth – 42 total
- Sheet Metal Screw, No 10 Size, 1-1/4″ Length – 2 boxes. Used to mount hanging track into metal studs and drywall.
- Sheet Metal Screw, No 10 Size, 2″ Length – 2 boxes. Used to mount standards into metal studs and drywall.
If you’re mounting into wood studs, you’ll need to swap the sheet metal screws for standard wood screws. While I re-used the sheet metal screws for mounting into drywall, it should be noted that these aren’t load-bearing, and aren’t a substitute for real anchoring. I’m relying on the hanging track and stud-mounted standards to bear the load, and merely using the sheet metal screws to loosely fasten the remaining standards in place.
Tools
- Power Drill & Bits: The bits depend on the studs you’re mounting the shelving to. I used #10 sheet metal screws, but you’ll want different hardware for wood studs. If you’re planning on using finishing nails to mount hardwood strips to the edge of your shelves, you’ll also need a bit to drill pilot holes.
- Chalk line reel: You’ll need a chalk reel to mark a straight edge for the hanging shelving track.
- 4′ Level: Comes in particularly handy when leveling the hanging track.
- Hacksaw: If you need to cut the hanging track to fit, you’ll find that a hacksaw can make short work of it.
- Quick-grip Bar Clamps: If you’re planning on using a hardwood strip to strengthen the shelves, you’ll need at least two of these to hold the shelves together while you glue and/or use finishing nails to permanently affix the hardwood to your shelves.
- Nail Punch: This is required to drive finishing nails flush or below the surface of the wood, if you plan to affix hardwood to your shelves using finishing nails.

The Plausible Blog
Latest news and musings from the co-op.
Follow us: @plausiblelabs
Recent Articles
- PLCrashReporter Stewardship Moving to Microsoft September 12, 2019
- A New Home for VoodooPad December 14, 2017
- PLRelational: Query Optimization and Execution October 3, 2017
- Let's Build with PLRelational, Part 2 September 28, 2017
- Let's Build with PLRelational, Part 1 September 18, 2017